How to Safely Move Heavy Stones Without Equipment
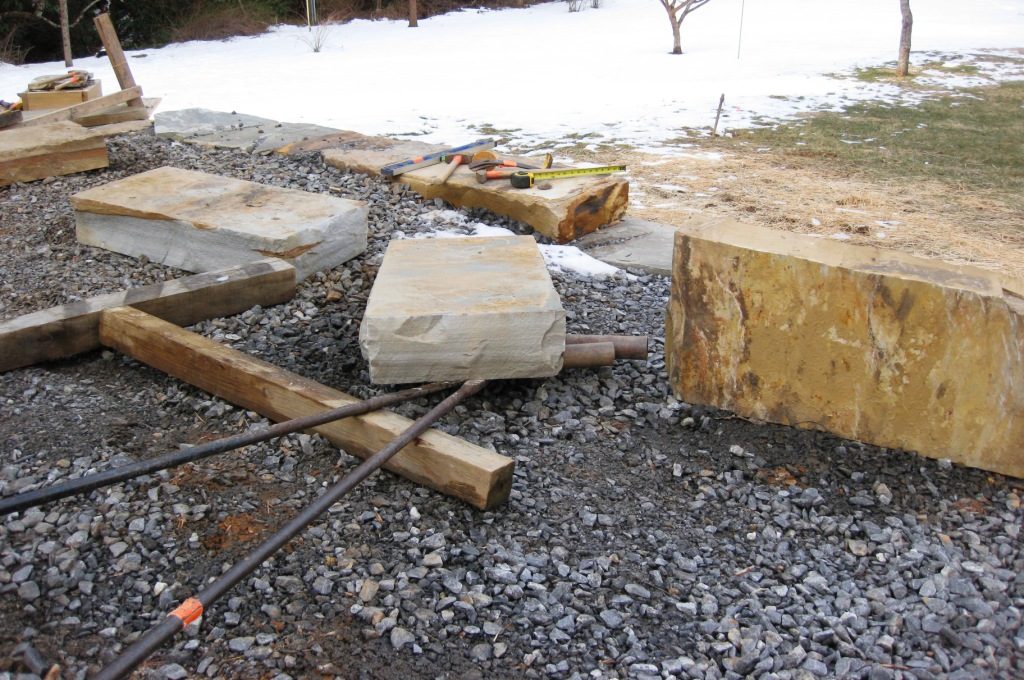
The project explained in this blog involves moving 350 pound stones with simple tools. I’m building a curved drystone retaining wall, 3’ height average, and am setting the capstones on the wall. I purchased 4 sandstone capstones, each of which has been quarried and then run through a mechanized splitter to give it specific dimensions. The capstones are 3’ wide, 6” height, and 18” front to back. I rolled them out of my truck bed onto gravel just above where they are destined to rest permanently.
Each of the stones weighs about 350 pounds, and I don’t have power equipment on site to move and set them. With the right tools and an awareness of methodology and safety, I easily set the stones in place myself. Here is how I did it:
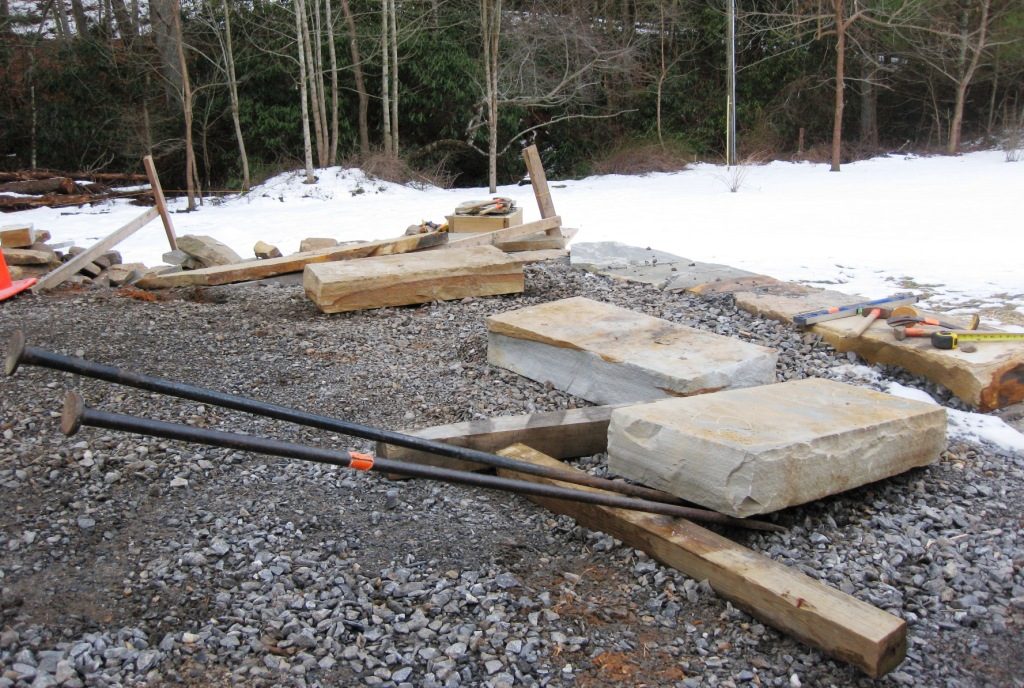
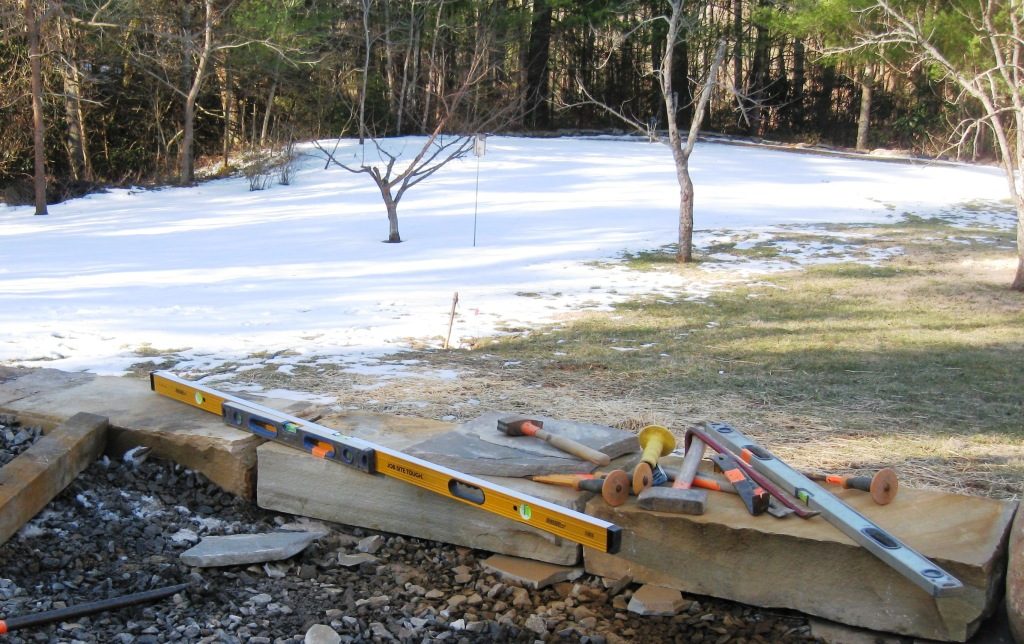
1) The tools needed to move these include: Two 6’ long digging irons, several pieces of 4” x 4” lumber, Three 2” diameter steel rollers, two levels, a hammer, and a chisel.
2) I measured the 4 corners of each stone and marked their height to allow me to set similar height stones next to one another
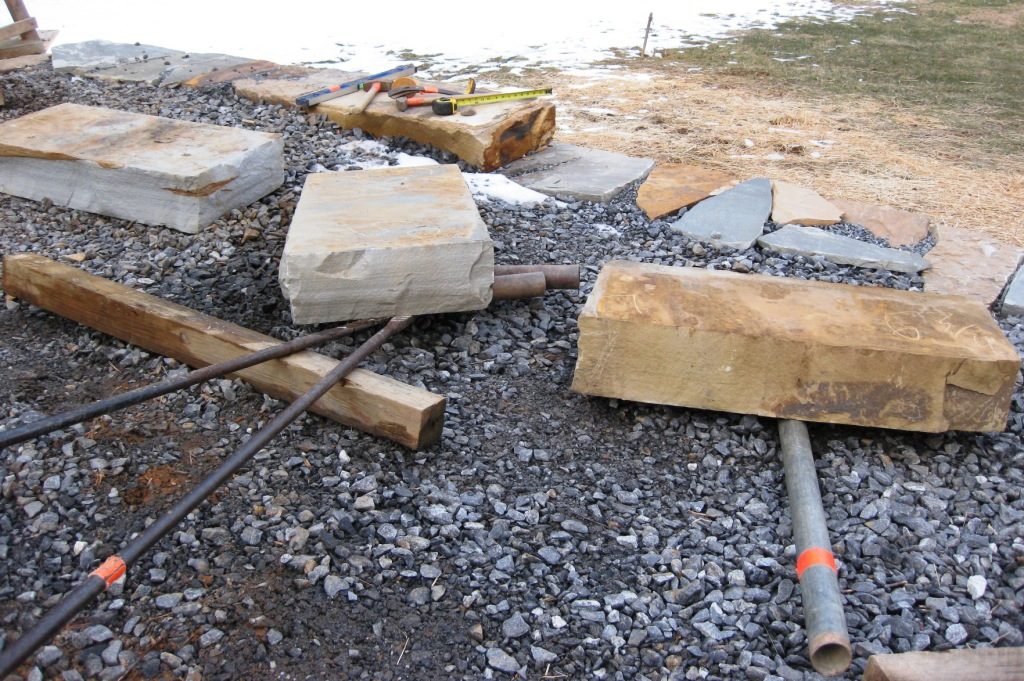
3) I pried up the capstone with two digging irons which rest on a 4” x 4” piece of lumber
4) I slid two steel rollers under the capstone
5) I moved the digging irons in a way like rowing a boat to slide the capstone over the rollers
6) I dropped a capstone that was in the way onto a roller
7) I continued to move the capstone towards its resting place by rowing it and pushing it along the top of the rollers
8) I rowed it into place and used levels to make sure that it was level left to right and front to back
9) I set the second cap next to it using similar methods
10) I used a hammer and chisel to remove stone beneath the capstones so as to make them level
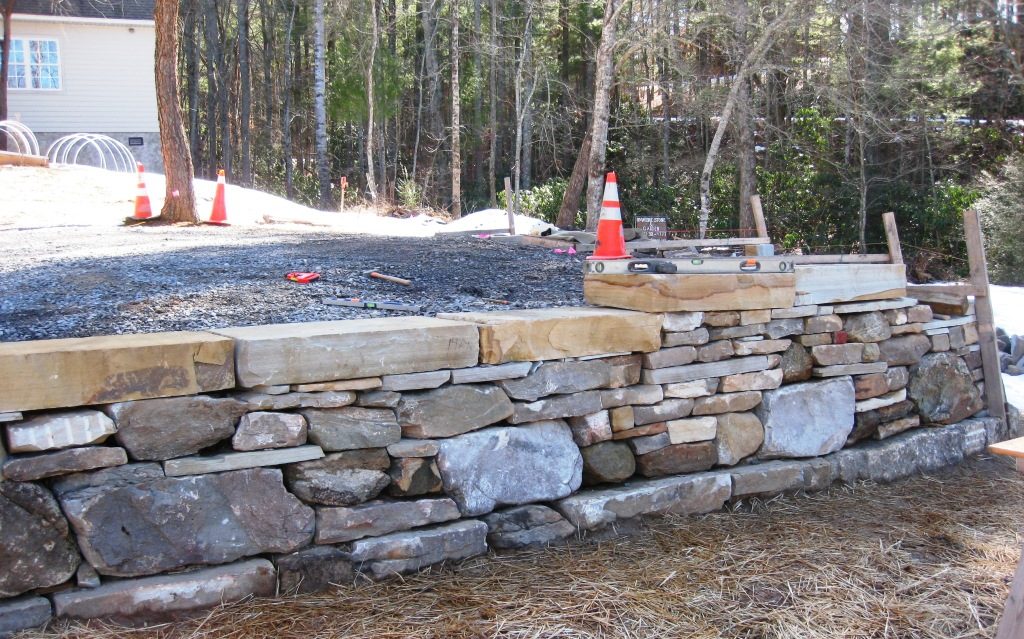
11) The finished set of capstones on the wall are each level front to back, level left to right, and at the same height next to one another.
The weight and dimensions of these capstones are ideal to have on top of the finished wall for several reasons: 1) they provide pressure on the stones beneath to reduce movement 2) they tie together the stones beneath them with friction 3) they won’t move easily 4) they provide a flat surface for sitting, walking, or setting items 5) they look nice, with interesting grain patterns and colors 6) they are the border of a car parking area, and will allow contact with tires to alert wayward drivers without scraping metal of a car body
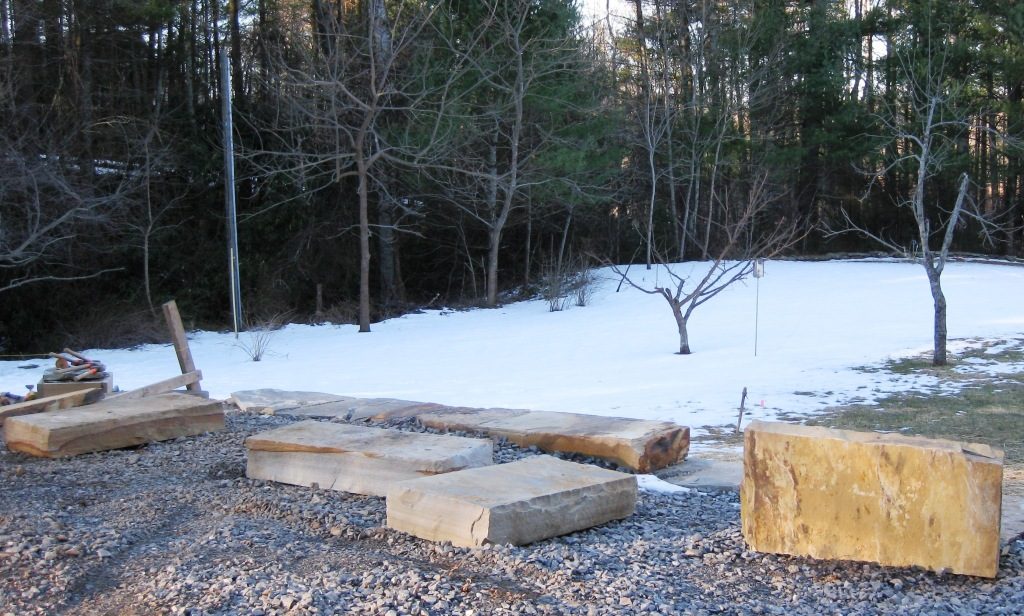
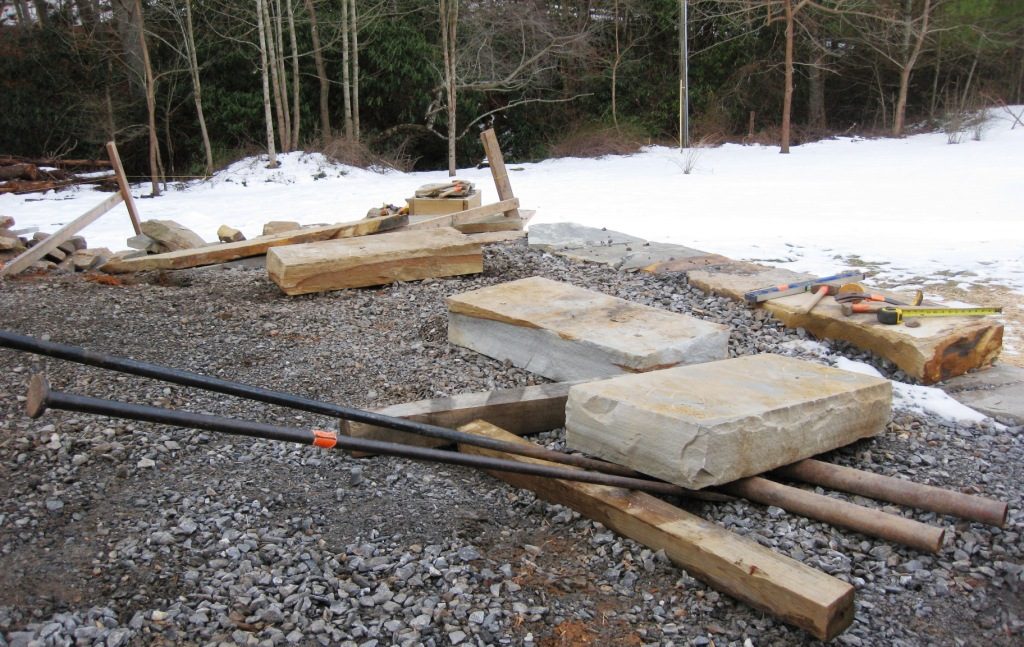
Capstones dumped out of truck bed
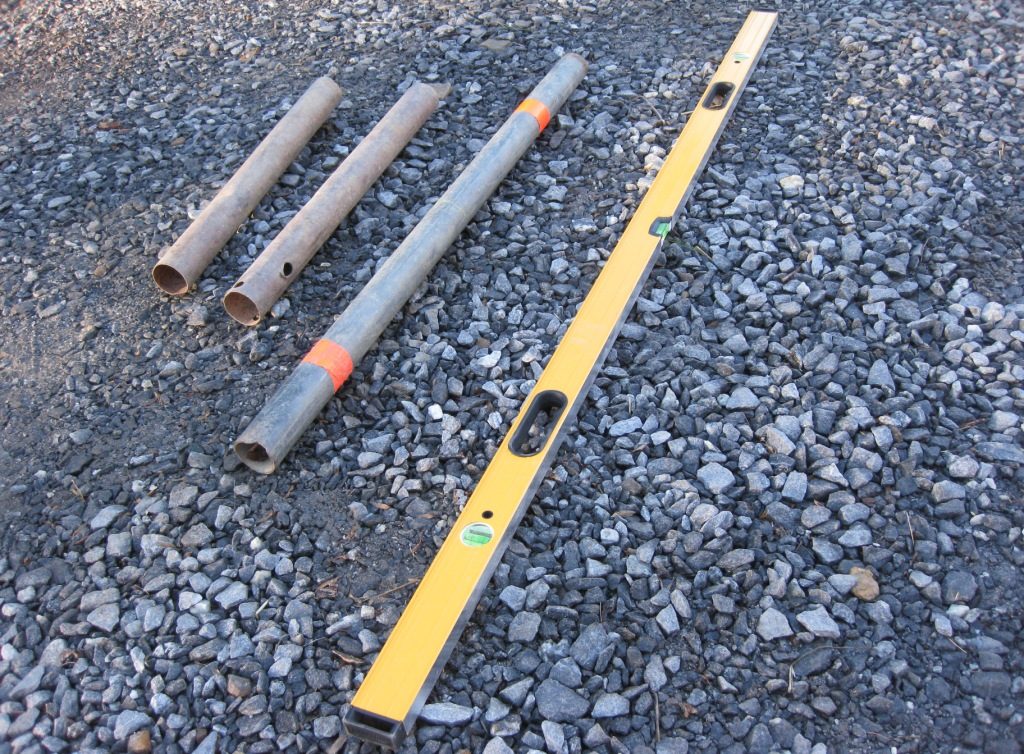
Metal rollers and a 6′ level
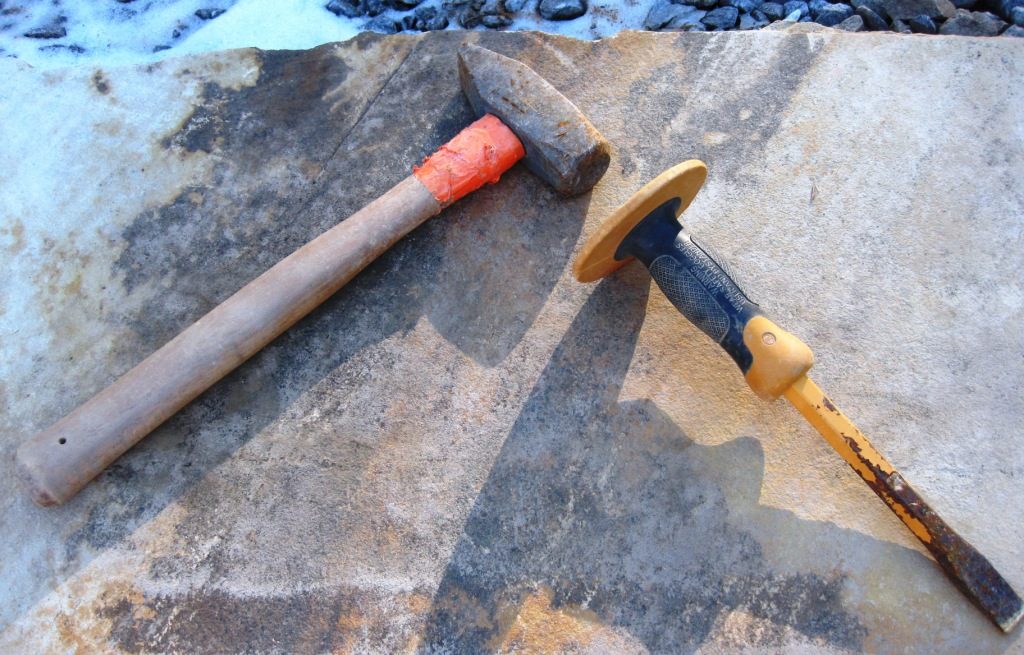
Hammer & chisel
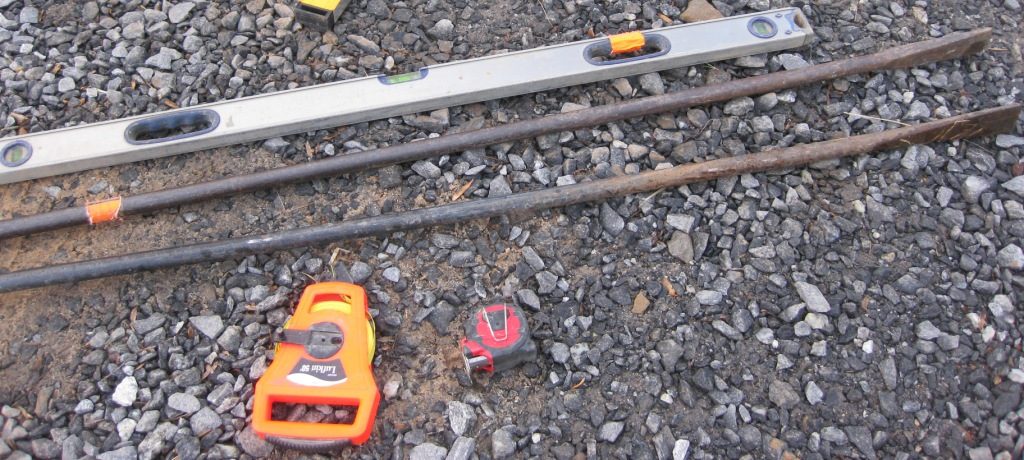
Digging irons, level, and tape measures
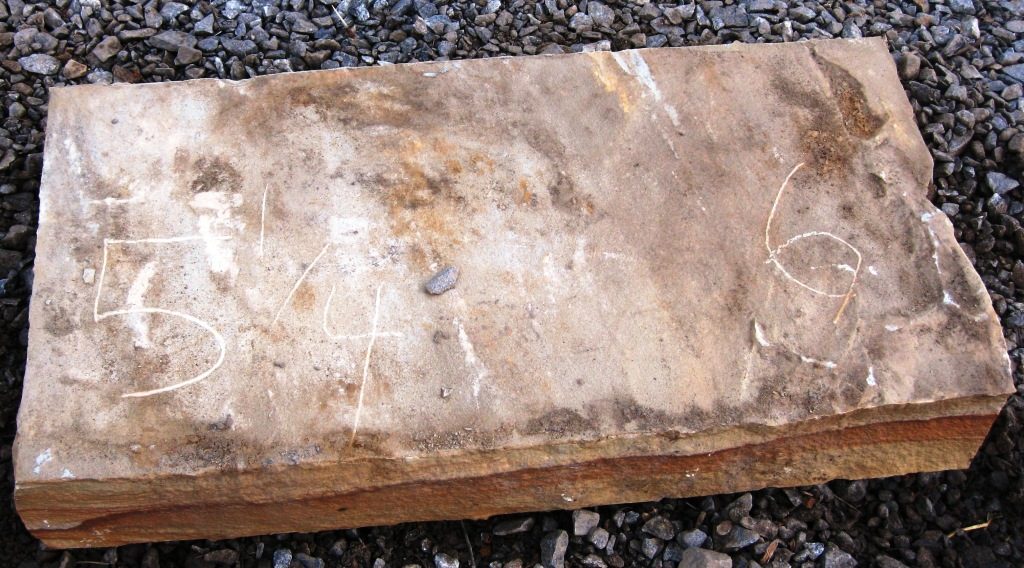
Height of stone drawn on each corner
Pry up capstones with two digging irons resting on 4″ x 4″
Slide metal rollers under capstone
Row the capstone over surface of metal rollers
Drop capstone in way onto another metal roller
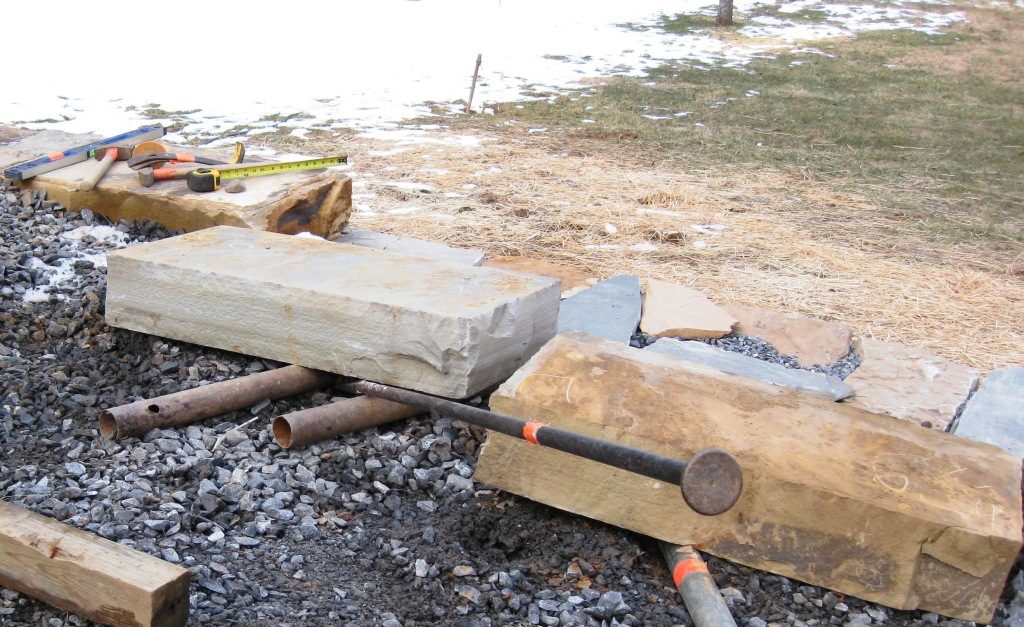
Continue rowing and sliding capstone over metal rollers
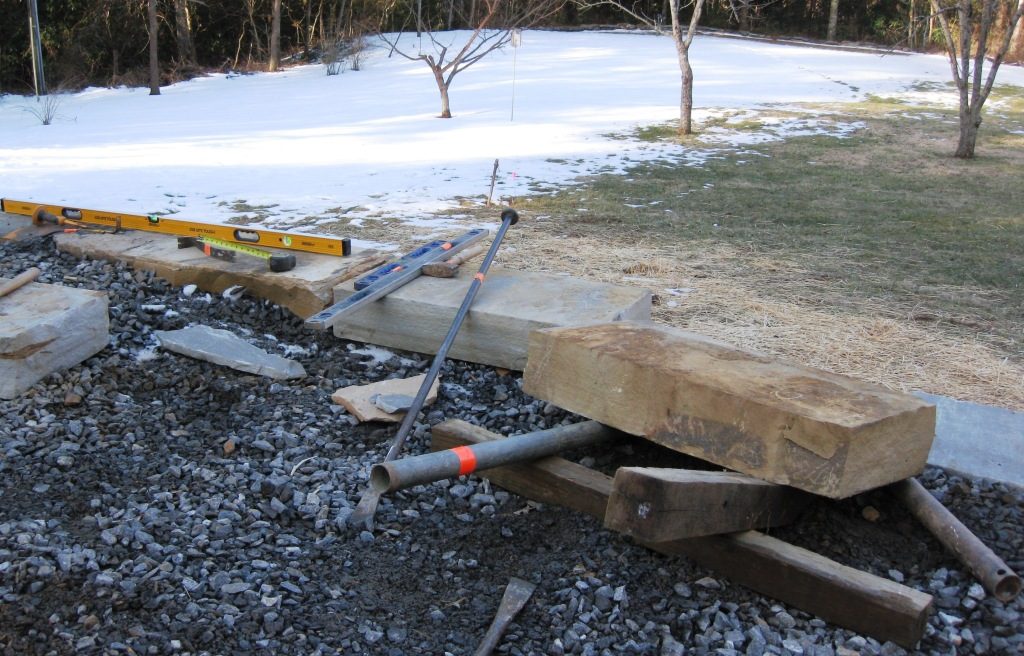
Check capstone with levels both left-to-right and front-to-back
Check plane across top of all 3 capstones with long level
Capstones set in place on top of drystone retaining wall!
